Plumb-Saber
Overview
In this project, you’ll build a mini LED “Plumb-Saber” using real plumbing parts. This includes short threaded pipe extensions, couplers, and other off-the-shelf fittings. It’s a fun way to see how the same components used in real plumbing work can also be turned into creative hands-on builds. By putting these parts together with a simple LED setup, you’ll get a feel for how tradespeople work with materials and how everyday hardware can be transformed into something completely new.Skills + Goals
Plumbing
Learn about different types of fittings used in plumbing
Gas
Learn about fittings used for gas fittings
Age 10+
Time 30 min
Materials
- APlywood Wings
- BPlywood Retainer Rings
- CPex Removal Tool
- DPlywood Ribs
- E1/2" Pex Push Connect to 1/2" NPT Fitting
- F1/2" NPT x 3" Pipe
- G1/2" NPT to 1/2" Copper Solder Fitting
- H1/2" Pex Tubing
- ILED COB Light Strip

Build Steps
Step 1
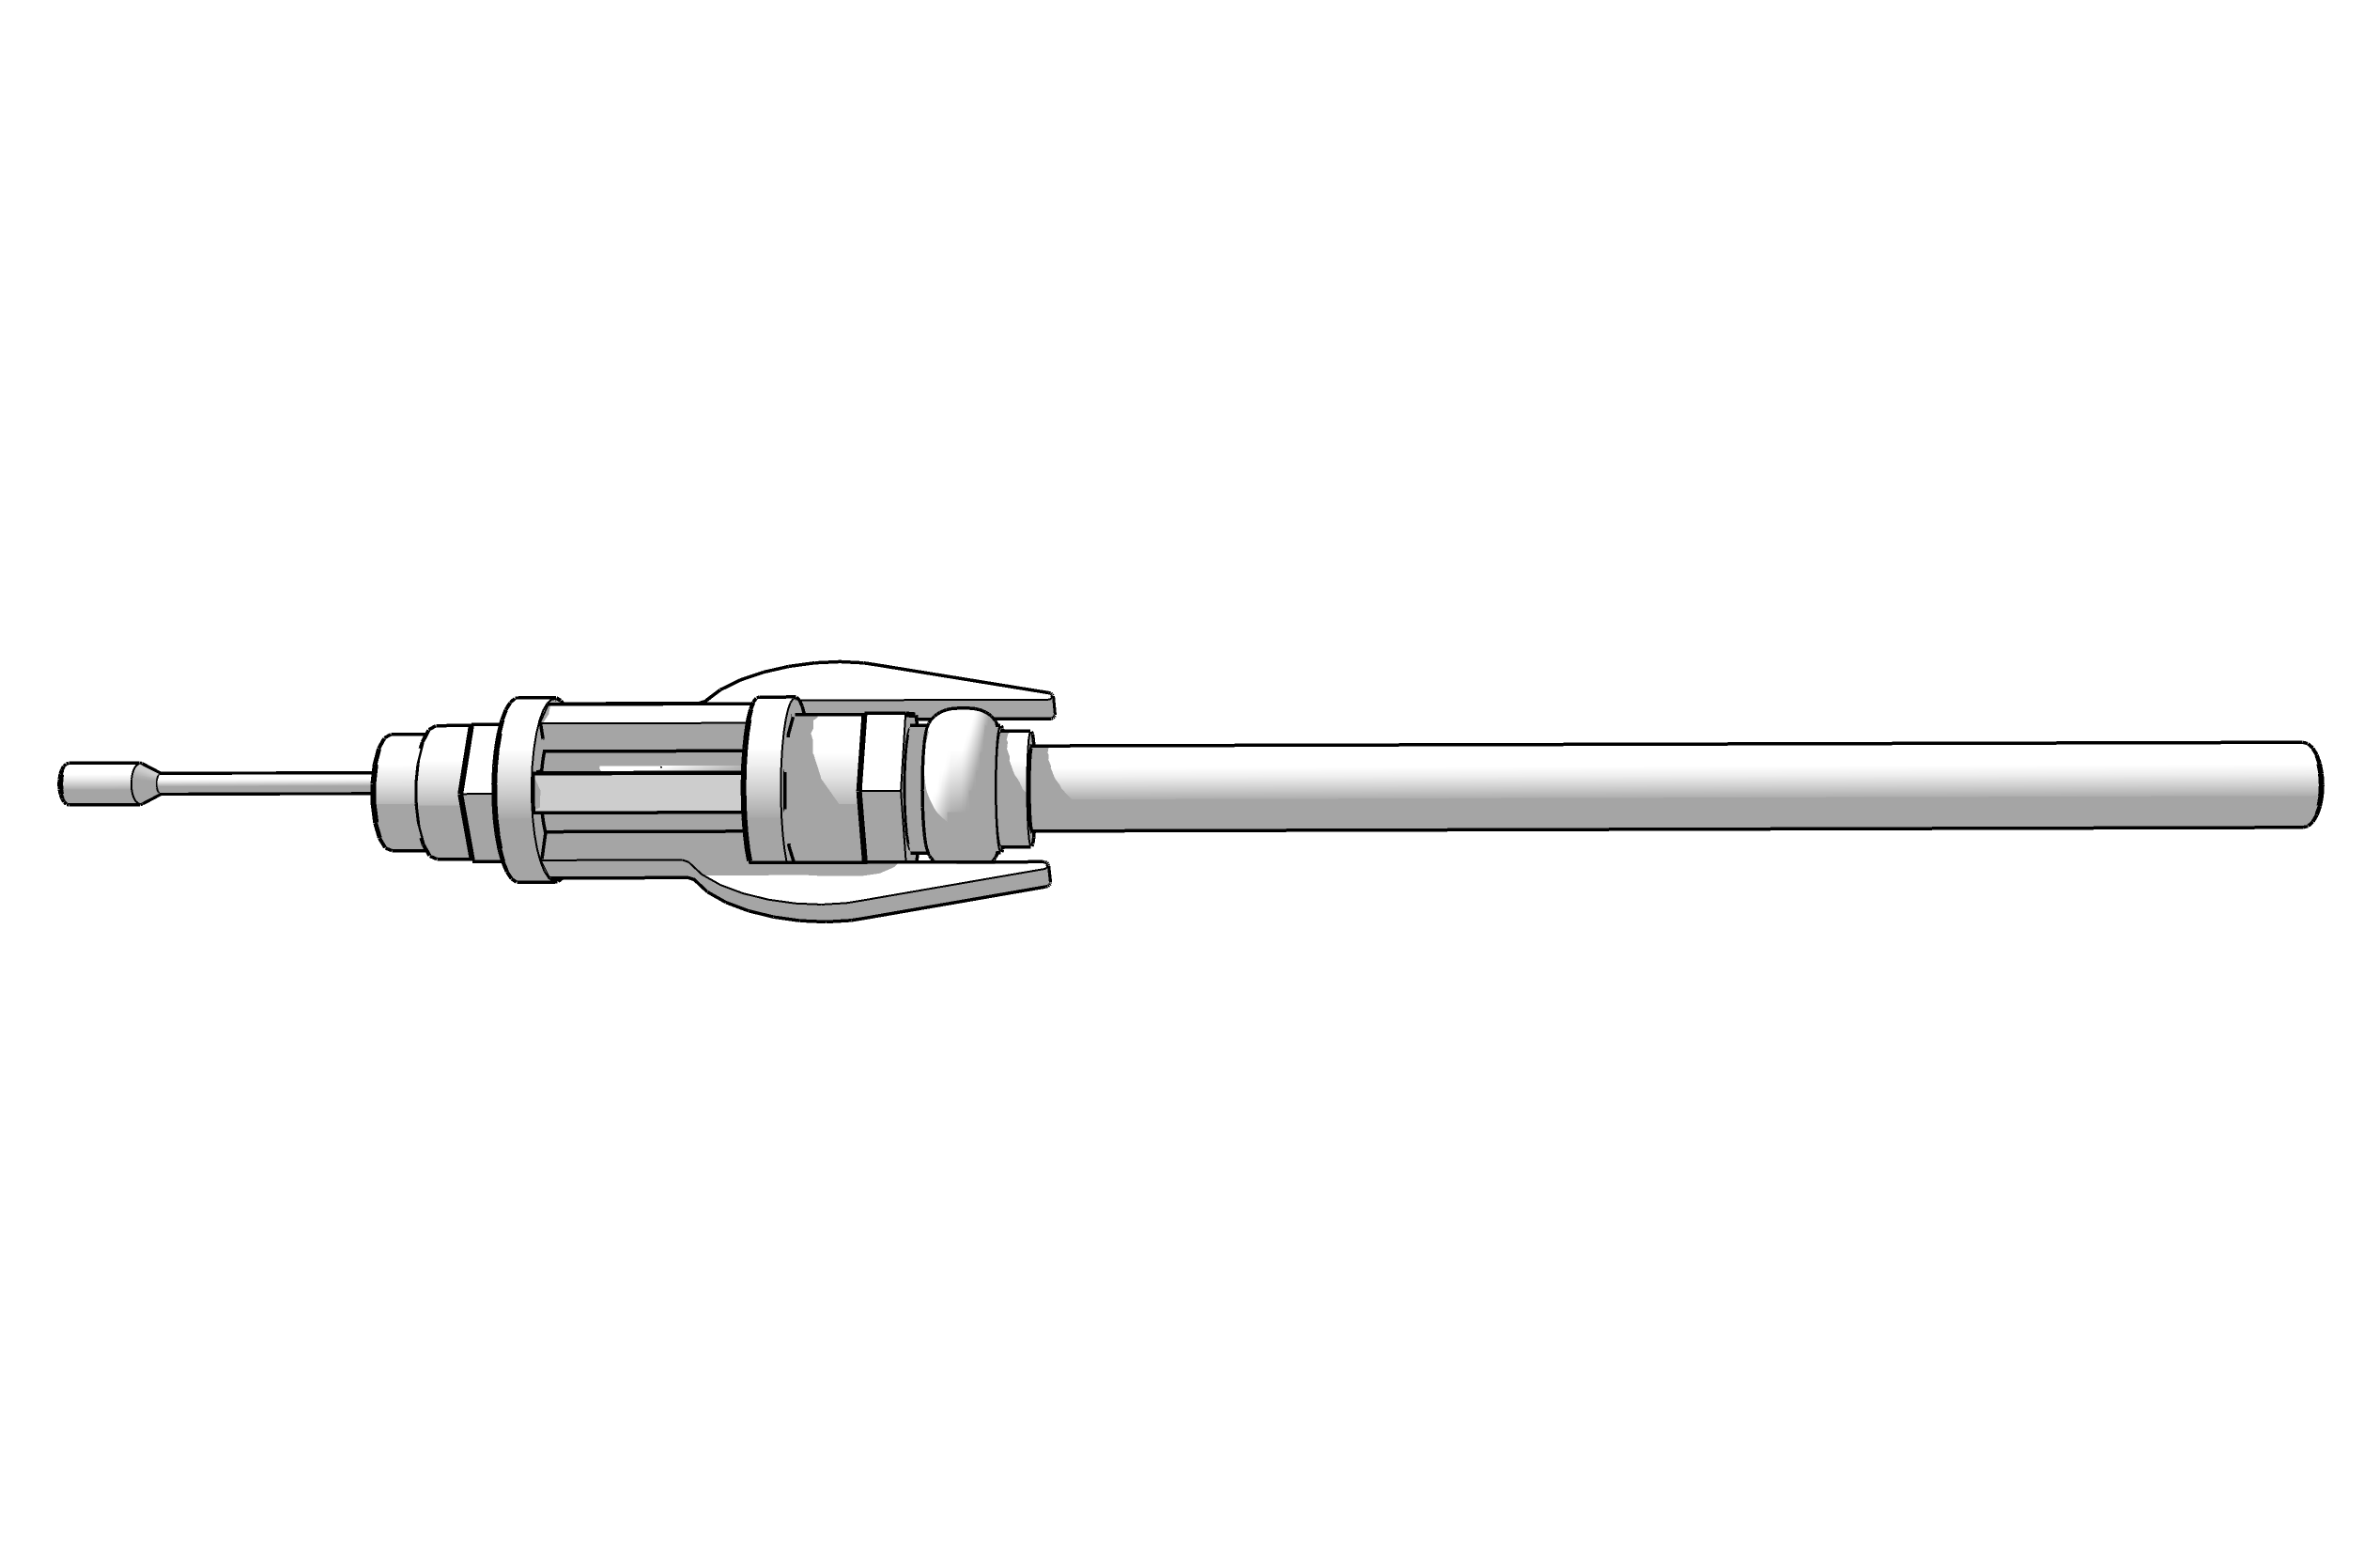
Push the 1/2" Pex tubing into the 1/2" Push Connect fitting [1]

Step 2
Slide the LED COB light strip into the Pex tube through the push connect fitting's base [1]. The "T" at the bottom of the strip [2] will act as a stopper to seat the LED strip into the fitting.

Step 3
Slide the 1/2" NPT x 2 1/2" pipe [1] over the power cord for the LED strips and thread into the base of the push connect fitting.

Step 4
Flip the assembly over and slide the plywood retainer ring [1] over the pipe.

Step 5
Fit the wings and ribs into the square slots in the retainer ring with the wings [1] on opposite sides

Step 6
[1] Fit the plywood retainer ring [B] over the top of the ribs [D] and wings [A]. This step is a bit tricky!

Step 7
Thread the 1/2" NPT to 1/2" solder fitting [G] onto the pipe [F] to lock everything together

Step 8
Plug the USB to DC cable [J] into the LED COB strip and then into a USB power source to begin your quest to defeat the dark side.

Step 9
If you are taking apart your saber, there is a special push connect removal tool [C]. To use it, snap it over the Pex tube [1] and press it against the plastic ring on the fitting [2] and pull the Pex tube out

Step 10
The included stand parts slide together as shown. Once together you can place your saber on the stand for display!
